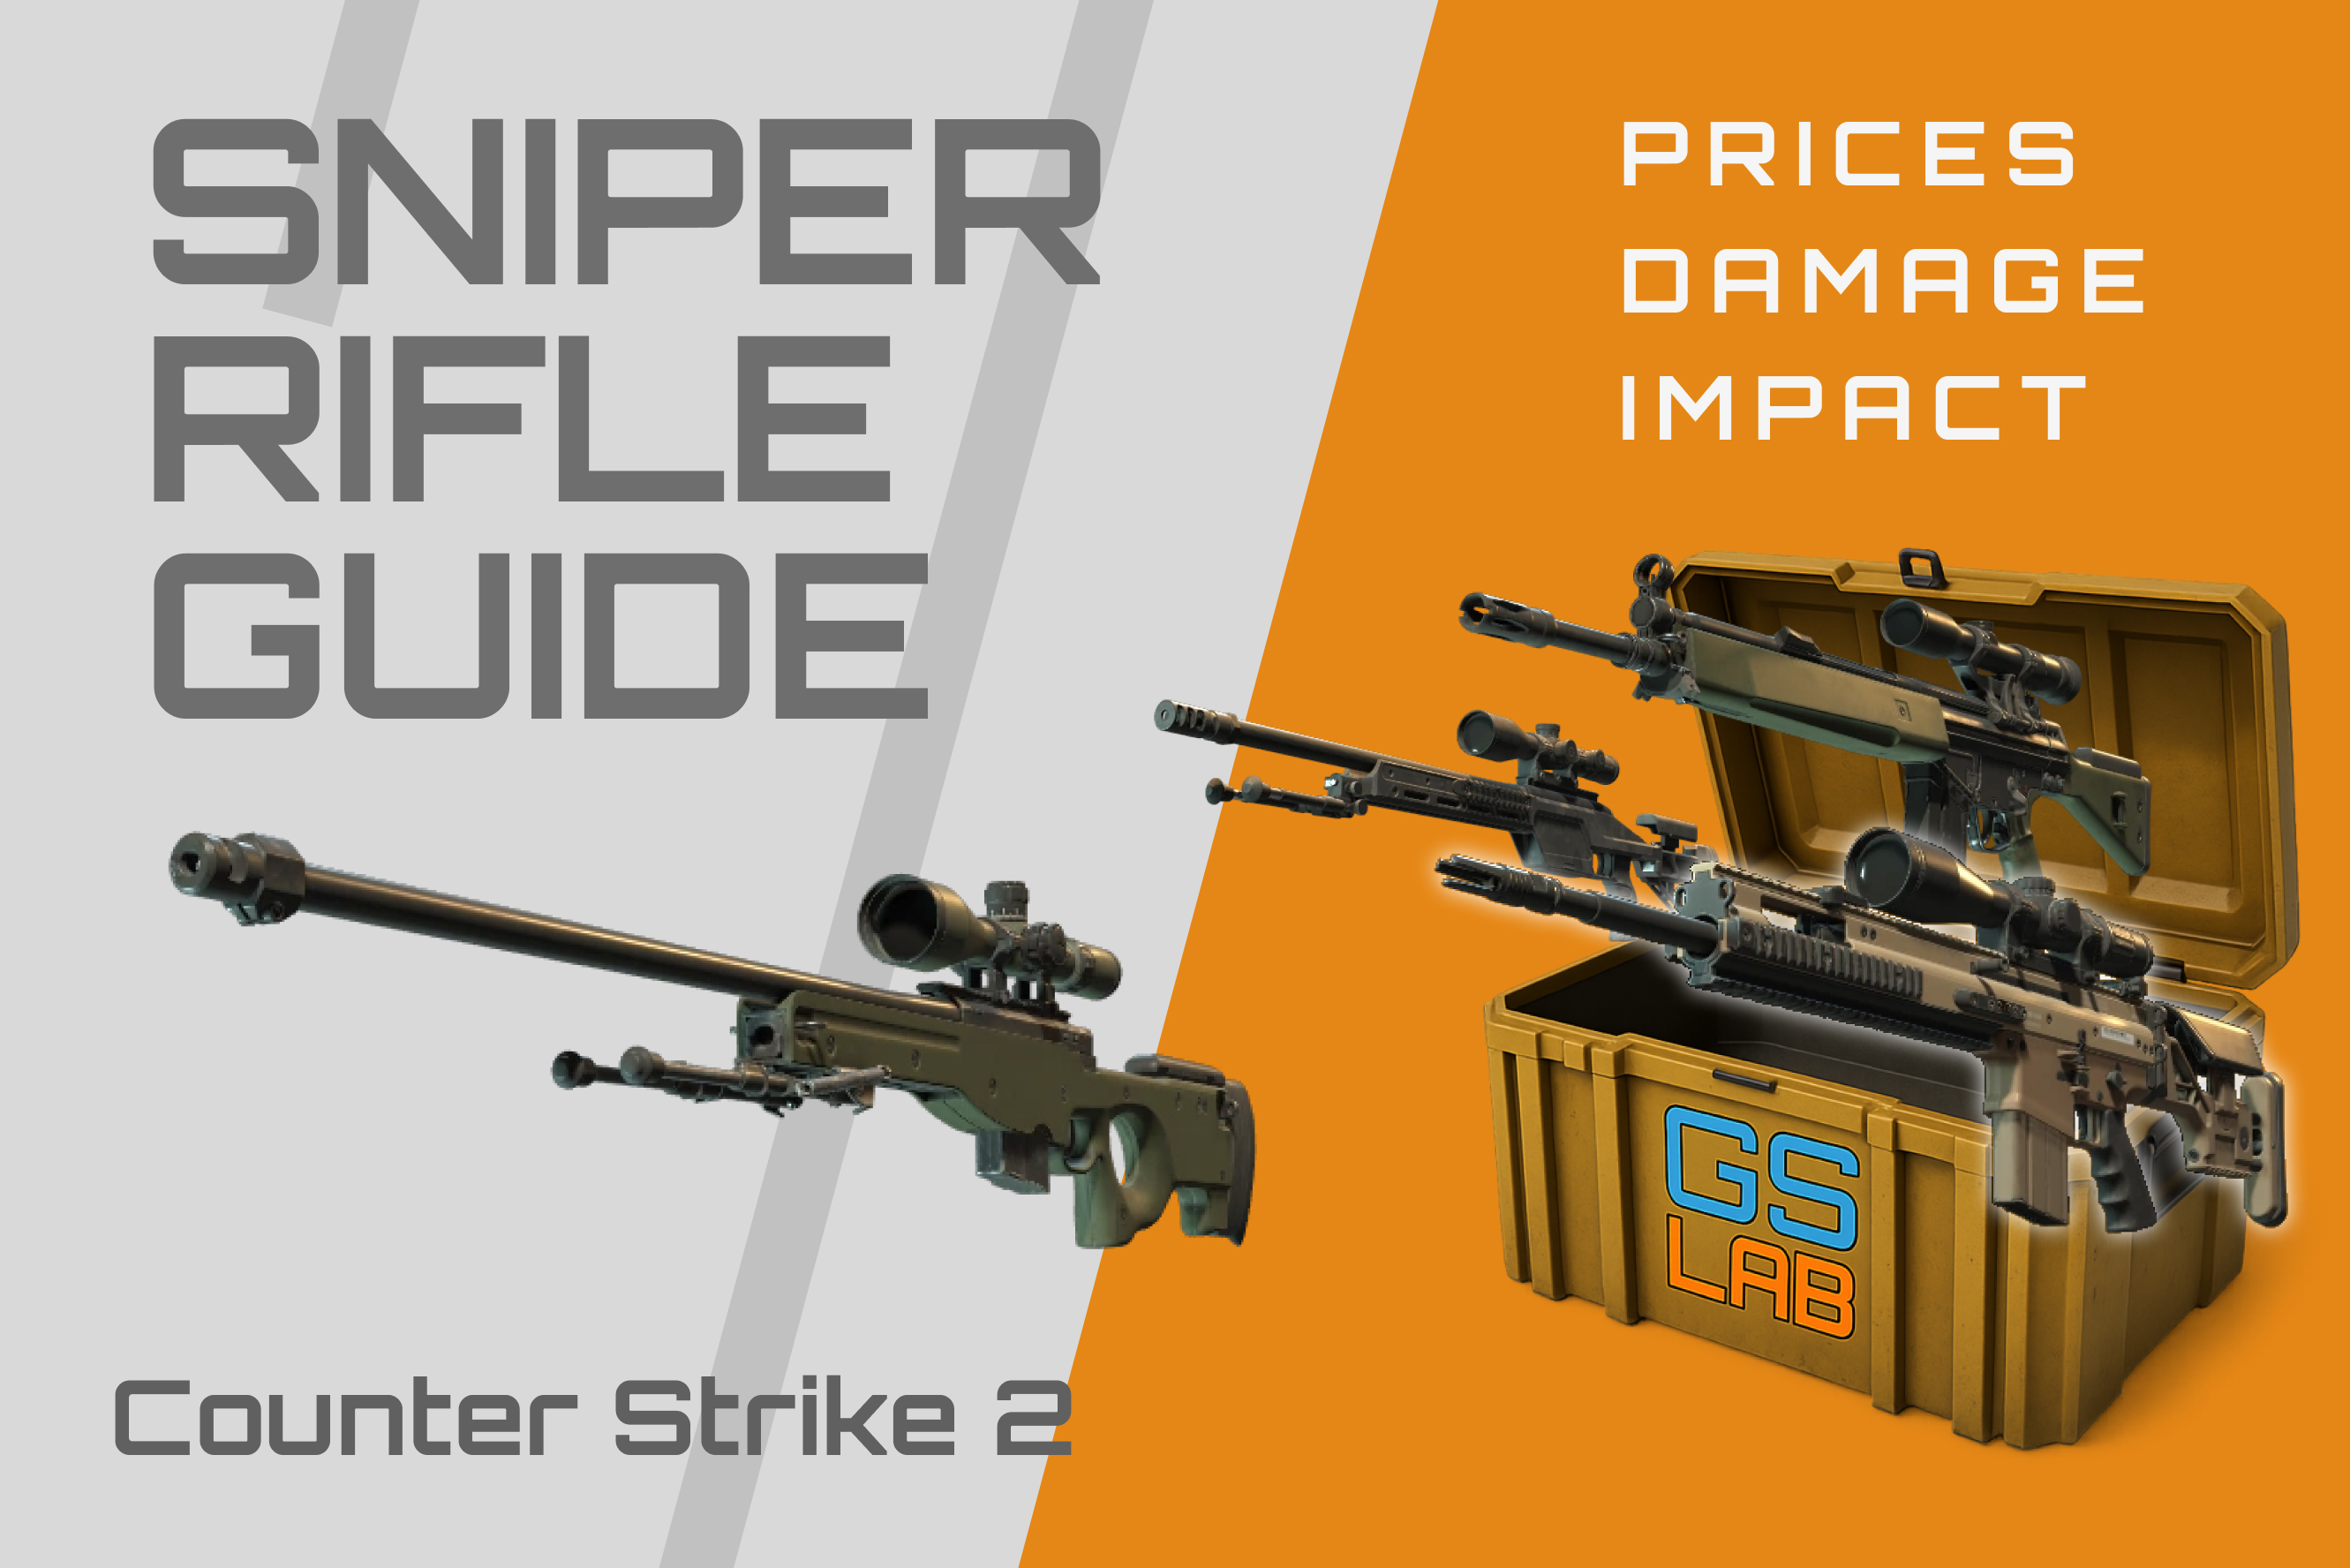
Sniper rifles are the pace-setters of Counter-Strike 2. One well-timed shot can end an execute, stop a split, or open a bombsite. This guide explains the four CS2 snipers—AWP, SSG 08, SCAR-20 (CT), and G3SG1 (T)—with practical tips, economy rules of thumb, and drills to level up your impact.
The Sniper Lineup at a Glance
| Weapon | Side | Typical Price | Magazine / Reserve | Kill Award (Comp) | Identity |
|---|---|---|---|---|---|
| AWP | Both | $4750 | 5 / ~30 | $100 | One-shot to chest/head; slow, devastating |
| SSG 08(“Scout”) | Both | $1700 | 10 / ~90 | $300 | Budget sniper; mobile, great for force buys |
| SCAR-20 | CT | $5000 | 20 / ~90 | $300 | Auto-sniper; taps or bursts, high ROF |
| G3SG1 | T | $5000 | 20 / ~90 | $300 | T-side auto-sniper; post-plant and picks |
Damage & Armor Behavior (practical truths)
- AWP: One-shots anywhere above the legs through light cover; leg shots require a follow-up. Heavy armor doesn’t save you from chest hits.
- SSG 08: One-shot to the head (helmet on/off). Body shots do not one-shot armored enemies; two hits or one + pistol cleanup.
- Auto-Snipers (SCAR-20 / G3SG1): High armor penetration and ROF; 2 body shots (often through light cover) delete most opponents.
When to Buy What
AWP — The Round Shaper

- Buy on: Full buys when you need map control or a guaranteed opener; anchor duty to shut down fast hits.
- Best users: Primary AWPer or confident rifler with set plays and utility support.
- Maps/Spots: Mirage Window/Cat, Inferno Arch/Library, Nuke Heaven/Outside Red, Anubis A-Main cross.
- Strengths: Trade-proof picks, punish dry peeks, hold narrow crosses.
- Weaknesses: Low kill reward ($100), limited mobility, expensive miss.

Pro tip: Treat each AWP shot like a set piece—pre-aim, pre-nade, and plan an exit (smoke, molly, or support flash) before you pull the trigger.
SSG 08 — The Force-Buy MVP

- Buy on: 2nd/3rd round force buys, half buys, bonus rounds, or when you expect a duel-heavy mid.
- Playstyle: Abuse jump-peek + strafe shots, re-peek off info, and combine with body tags → pistol cleanup.
- Strengths: Cheap, mobile, high kill award, great accuracy while moving/jumping (when timed).
- Weaknesses: Body damage is underwhelming vs armor; requires smart crosshair placement and spacing.

Combo: Tag with Scout → swing with a P250/USP-S/Glock teammate for guaranteed trade.
SCAR-20 / G3SG1 — The Siege Engines


- Buy on: Late halves with bank; post-plant setups; vs teams that dry swing or can’t smoke you.
- Playstyle: Post up on head-height angles; tap or short burst. Punish gaps, spam through light cover.
- Strengths: Rapid follow-up shots, excellent through smokes or thin walls, farm in retake denial.
- Weaknesses: Expensive and loud; can be counter-smoked, flashed, or swung from multiple angles.


Economy rule: If two teammates need rifles/utility, don’t buy an auto-sniper—fund them first.
Impact Framework (how to actually win rounds)
- Pick Plan (15s): Before the freeze ends, decide: opening pick, denial pick (stop execute), or retake pick. Your utility kit and spawn should match.
- Utility Buddy: One teammate dedicated to flashing you in, smoking your retreat, or mollying the re-peek path.
- Two-Shot Mentality: Always know your follow-up. With AWP leg shots or missed shots, strafe cancel → pistol or reposition instantly.
- Angle Discipline: Hold one line. The first jiggle that appears gets the flick—don’t “angle surf.”
- Economy Math:
- AWP kept alive > AWP dropped and no trade.
- If you’re broke next, switch to SSG 08 + nades—your team gets two rifles instead of one glass AWP.
Practical Setups & Micro-Plays
CT Side
- Mirage: Window AWP → early pick; smoke top mid and boost Cat to punish late peeks.
- Inferno: Arch AWP the Library cross; fall to site smoke; rotate with HE + flash to re-peek lane.
- Nuke: Heaven holds on A rafters; when smoked, pivot to Hell for fast Outside pick lines.
T Side
- Anubis: AWP posted on A-Main left pillar; flash through top A smoke for the punish.
- Vertigo: Early mid boost → punish short jiggle; late round post-plant from yellow with a one-way smoke.
- Overpass: Balloon pick → instantly fall to site with deep divider smoke for safety.
Drills (10 minutes a day)
- Five Spots, Ten Shots: Pick five default angles on a workshop map; ten clean shots each without missing. Track your time + misses.
- Tag & Trade: With a friend, practice SSG 08 tag into pistol swing. Swap roles every round.
- Exit Plans: After every AWP kill in DM, smoke or flash and always strafe to a pre-chosen off-angle. Build muscle memory for survival.
Mistakes to Stop Making
- Dry peeking for “info” with an AWP and no flash. Make it a commit or don’t peek.
- Holding wide in the open. You want cover → line → escape.
- Buying AWP on a half buy while two teammates are on pistols and no nades. You’ll win your duel and lose the round.
- Auto-sniper spamming through full smokes without info—save ammo for contact and tracers for denial.
Loadouts & Utility You Should Pair
- AWP CT: AWP + HE + smoke + flash (molotov optional). HE for tag finishes, smoke for bailouts.
- SSG 08 T: Scout + 2 flashes → set pieces and re-peeks.
- Auto-Sniper: Molotov + HE to punish plants/defuses; post-plant spam with info.
Mini Buyer’s Cheat Sheet
- Need a guaranteed opener & you’re funded? → AWP.
- Forcing / Bonus / Want mobility? → SSG 08.
- Post-plant lockdown, banked up team? → SCAR-20 / G3SG1.
- Team broke, you have spawn? → Skip AWP, call fast rifle exec with layered flashes.
Frequently Asked (Sniper) Questions
Does the AWP still one-shot through armor to the chest?
Yes—chest and above. Legs require a follow-up.
Is jump-scouting still good?
Yes—if you time your strafe stop and release the shot at the apex/landing; use it sparingly on predictable lines.
Are auto-snipers “noob guns”?
No—they’re win-condition guns on certain sites and post-plants. If the enemy can’t smoke/flash you off, they’ll struggle to retake.
Final Word
Snipers reward planning more than mechanics. If you pair spawn advantage + set utility + a clean escape route, your AWP will feel unfair; your Scout will steal rounds; and your auto-sniper will turn retakes into nightmares. Build a routine, protect your economy, and make every shot part of a mini-execute—even on defense.
Leave a Reply